Arduino Uno R3 Development Board - A Complete Beginner's Guide
If you have just started exploring electronics, chances are you have already heard of the Arduino Uno R3. It is one of the most beginner-friendly microcontroller boards, trusted by students, hobbyists, and engineers worldwide.
In this guide, we will cover what makes the Arduino Uno special, its key features, popular applications, and how you can quickly start your first project.
What Exactly is Arduino Uno R3?
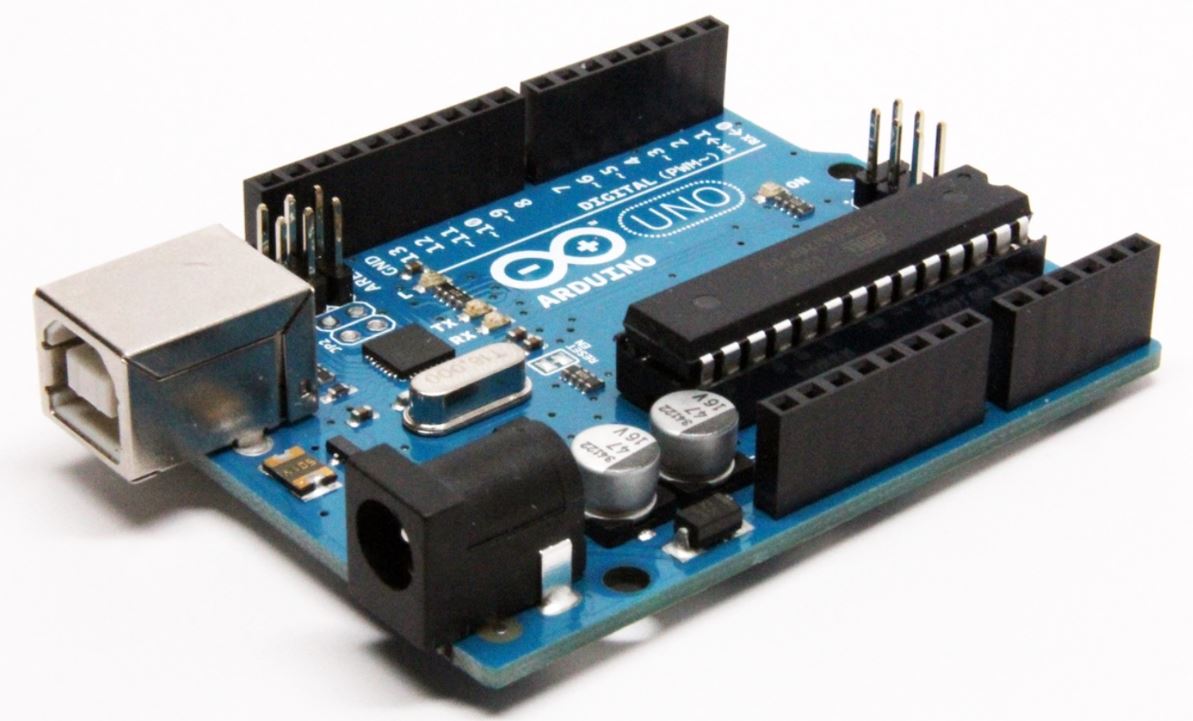
The Arduino Uno R3 is an open-source development board based on the ATmega328P microcontroller. Its user-friendly design and strong community support make it the perfect choice for anyone stepping into the world of DIY electronics.
Did You Know?
The name "Arduino" comes from a bar in Ivrea, Italy, where some of the founders of the project used to meet. The bar was named after Arduin of Ivrea, who was the margrave of the March of Ivrea and King of Italy from 1002 to 1014.
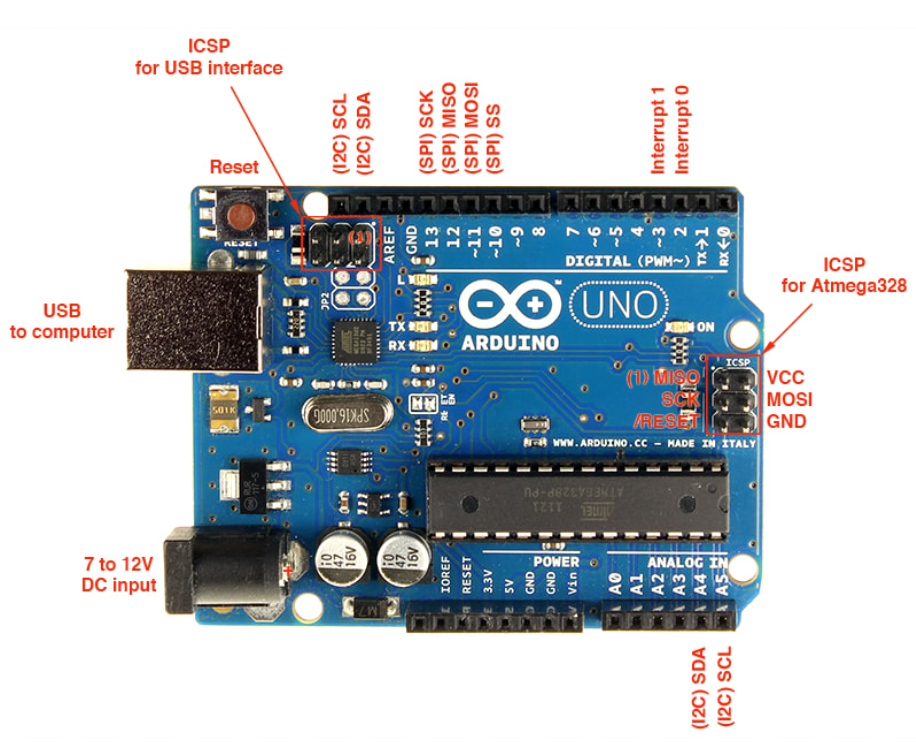
Core Features of Arduino Uno
- ATmega328P Microcontroller with 16 MHz clock speed
- 14 Digital I/O pins (6 of which support PWM)
- 6 Analog input pins
- 32 KB Flash Memory, 2 KB SRAM, and 1 KB EEPROM
- Operates at 5V with recommended input voltage of 7-12V
- USB interface and DC power jack
Popular Applications
The Arduino Uno is versatile and widely used in:
- Robotics and automation
- IoT (Internet of Things) devices
- Smart home projects
- Wearable tech and gadgets
- STEM education and prototyping
Getting Started with Arduino Uno
Follow these steps to start your first project:
- Download and install the Arduino IDE from the official Arduino website.
- Connect the Arduino Uno to your computer via a USB cable.
- Select the board type (Arduino Uno) and correct COM port.
- Upload the classic Blink example to test your setup.
Within minutes, you will have your first LED blinking the "Hello World" of hardware projects!
void setup() {
pinMode(LED_BUILTIN, OUTPUT);
}
void loop() {
digitalWrite(LED_BUILTIN, HIGH);
delay(1000);
digitalWrite(LED_BUILTIN, LOW);
delay(1000);
}
Where to Buy Arduino Uno R3
Ready to start your electronics journey? You can get the original Arduino Uno R3 Development Board here:
Buy Arduino Uno R3 from RobuKits